31 May 2023
Why does a car repair incomplete without painting services?
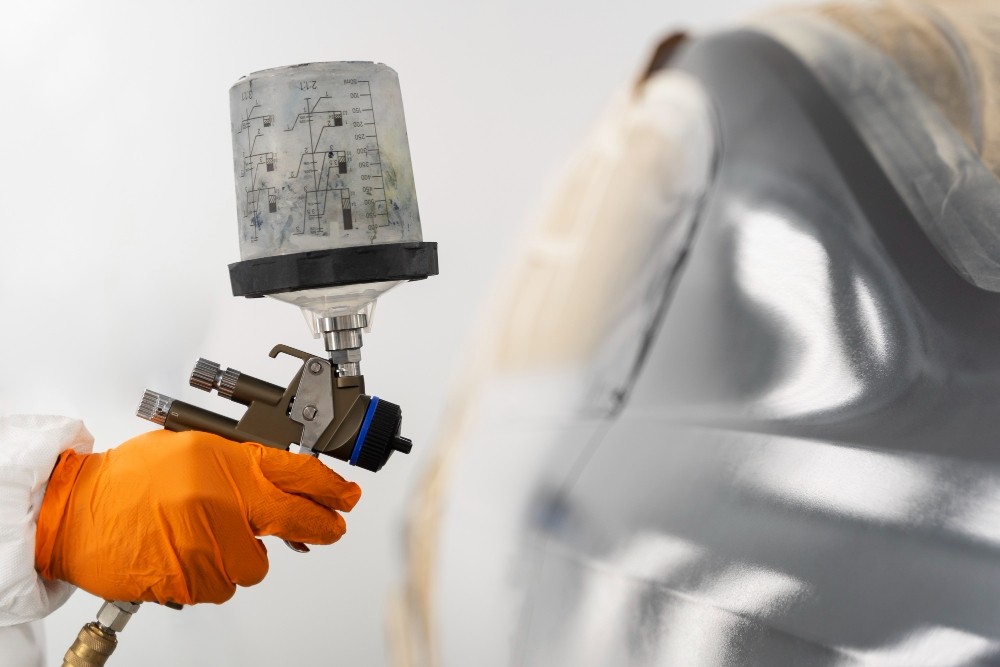
Car painting repair is a meticulous process that involves several essential steps to restore the vehicle's paintwork. The first step is to assess the damage, whether it's a minor scratch, chip, or a larger area of paint damage. Sanding may be necessary for deeper scratches or paint chips to create a smooth surface. Applying a primer becomes essential in some cases, especially if the paint damage is severe or the metal is exposed. Afterward, the paint color is matched precisely to the vehicle's original shade, and thin layers of paint are carefully applied to the damaged area, allowing each coat to dry before the next is added. Finally, a clear coat is applied to provide protection and a glossy finish, followed by polishing and blending to seamlessly integrate the repaired section with the rest of the car's surface.
A successful car painting repair requires attention to detail, patience, and quality materials. While minor touch-ups and small scratches can be addressed using DIY methods, more extensive damage or complex paint repairs are best left to professionals. They have the expertise and specialized equipment to achieve optimal results, ensuring the repaired paintwork matches the vehicle's original finish. Following the appropriate steps and techniques, car painting repair can help restore the aesthetic appeal and protect the vehicle's exterior, prolonging its overall lifespan and maintaining its resale value. Here are the general steps involved in a proper car paint repair:
1. Assess the damage:
Begin by examining the extent of the damage. Determine whether it is a minor scratch, chip, or a larger area of paint damage. This assessment will help you determine the appropriate repair method.
2. Clean the dirty area and dry it thoroughly before proceeding.
3. Sanding (if necessary): For deeper scratches or paint chips, sanding may be required to create a smooth surface. Be careful not to sand too aggressively, as it can damage the surrounding paint.
4. Apply a primer (if necessary): If the paint damage is severe or if the metal is exposed, applying a primer is essential. Choose a suitable automotive primer and follow the manufacturer's instructions for application.
5. Color matching: Obtain the correct paint color for your vehicle. This can usually be done by finding your car's paint code or consulting a professional paint supplier. It's crucial to get an exact match to ensure a seamless repair.
6. Start with thin layers and allow each coat to dry before applying the next. Build up the layers until the paint level matches the surrounding area. Take your time to ensure a smooth and even application.
7. Clear coat application: Once the paint has dried completely, apply a clear coat over the repaired area. The clear coat provides protection and gives the repaired section a glossy finish. Follow the manufacturer's instructions for application, and apply several thin coats, allowing each coat to dry before applying the next.
8. Polishing and blending: After the clear coat has dried, you may notice a slight difference in the repaired area's finish compared to the surrounding paint. You can use a polishing compound to blend the repaired section with the rest of the car's surface. Apply a small amount to a clean cloth and gently polish the repaired area until it matches the surrounding paint.
