22 Nov 2023
DIY Car Care: Mastering the Art of Oil and Filter Change
Greetings from the DIY car care world! One essential skill that every car owner should possess is knowing how to change the oil and filter in their vehicle. Although it sounds elegant, this is a straightforward yet crucial activity. By doing this, you can ensure that the engine operates smoothly and maintain the condition of your car. We aim to simplify the procedure for you to take care of your vehicle quickly. You'll save money, extend the life of your engine, and develop a stronger bond with your car by doing this. This article will help you grasp the fundamentals of this routine maintenance task for a smoother ride ahead, regardless of your level of experience mending or starting items. Now, let's get going!
Begin by Warming Up the Engine
Prior to initiating the oil and filter change process, start your car's engine and let it run for a few minutes. This step is essential as it warms up the oil, facilitating a more straightforward drainage process. However, exercise caution to prevent the engine from overheating, as this could pose safety risks.
Jack Up the Car
Safely lift your car using a jack and jack stands. This step is critical for accessibility and safety during the oil and filter change. Take extra care to ensure the car is stable and secure.
Locate and Drain the Oil
Find the oil drain plug underneath the car, consulting your owner's manual if needed. Loosen the plug with a wrench, push it back towards the pan, and drain the old oil into an oil pan.
Replace the Oil Plug
After draining the old oil, replace and hand-tighten the oil plug. Check your owner's manual for specifications on using a new drain plug gasket, and be cautious not to tighten over.
Remove the Oil Filter
Carefully remove the existing oil filter using a wrench. Be cautious, as the filter may still contain hot oil. Clean the mounting surface on the engine and ensure the gasket from the old filter is not stuck.
Lubricate and Install the New Oil Filter
Lightly coat the rubber seal of the new oil filter with fresh oil. Screw it into place by hand, ensuring the seal is seated correctly. Follow the specific instructions for your filter regarding the use of a wrench.
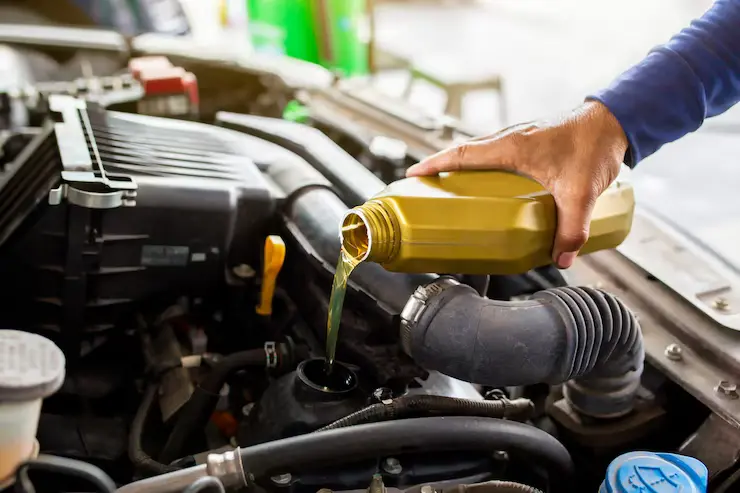
Pour in the New Oil
Using a clean funnel, pour the specified amount of oil for your vehicle into the engine. Be cautious not to overfill. Replace the oil cap when finished.
Run the Engine and Check for Leaks
Start the engine for a few minutes and check for leaks around the oil drain plug and filter. Address any leaks promptly. Turn off the engine and allow it to rest for a minute to let the oil drain down.
Check the Oil Level
Remove the dipstick, wipe it off, and reinsert it. Check that the oil level is up to the "full" mark. Add more oil if necessary, following the guidelines in your car manual.
Lower the Car
Lower the car safely and securely.
Dispose of Old Oil and Filter Responsibly
Properly dispose of the old oil and used filter by taking them to an authorized used engine oil drop-off center or a recycling facility.
Conclusion
Congratulations! You've successfully completed a DIY, contributing to the longevity and efficiency of your car's engine. Performing this routine maintenance task at home not only saves you money but also gives you a sense of accomplishment as a responsible car owner. With these simple steps, you'll master the art of oil and filter changes, ensuring a smoother and more reliable ride for your vehicle.